When it comes to corporate client work, a cinematographer must get their shots with limited time and in a huge variety of environments. Budgets are limited, teams are small, and your lighting kit must be able to deal with a wide range of challenging scenarios while remaining small enough for your team to pack in and out.
What does a working cinematographer do to get great results that wow clients? How do they think about building out their lighting kit, and how do they think about locations on the day?
We sat down with cinematographer Tom Shaw, who has earned a following online for his dynamic client work. Join us for a discussion on how to think about a lighting kit, job prep, and examples illustrating how Tom solved problems on shoots with his toolset.
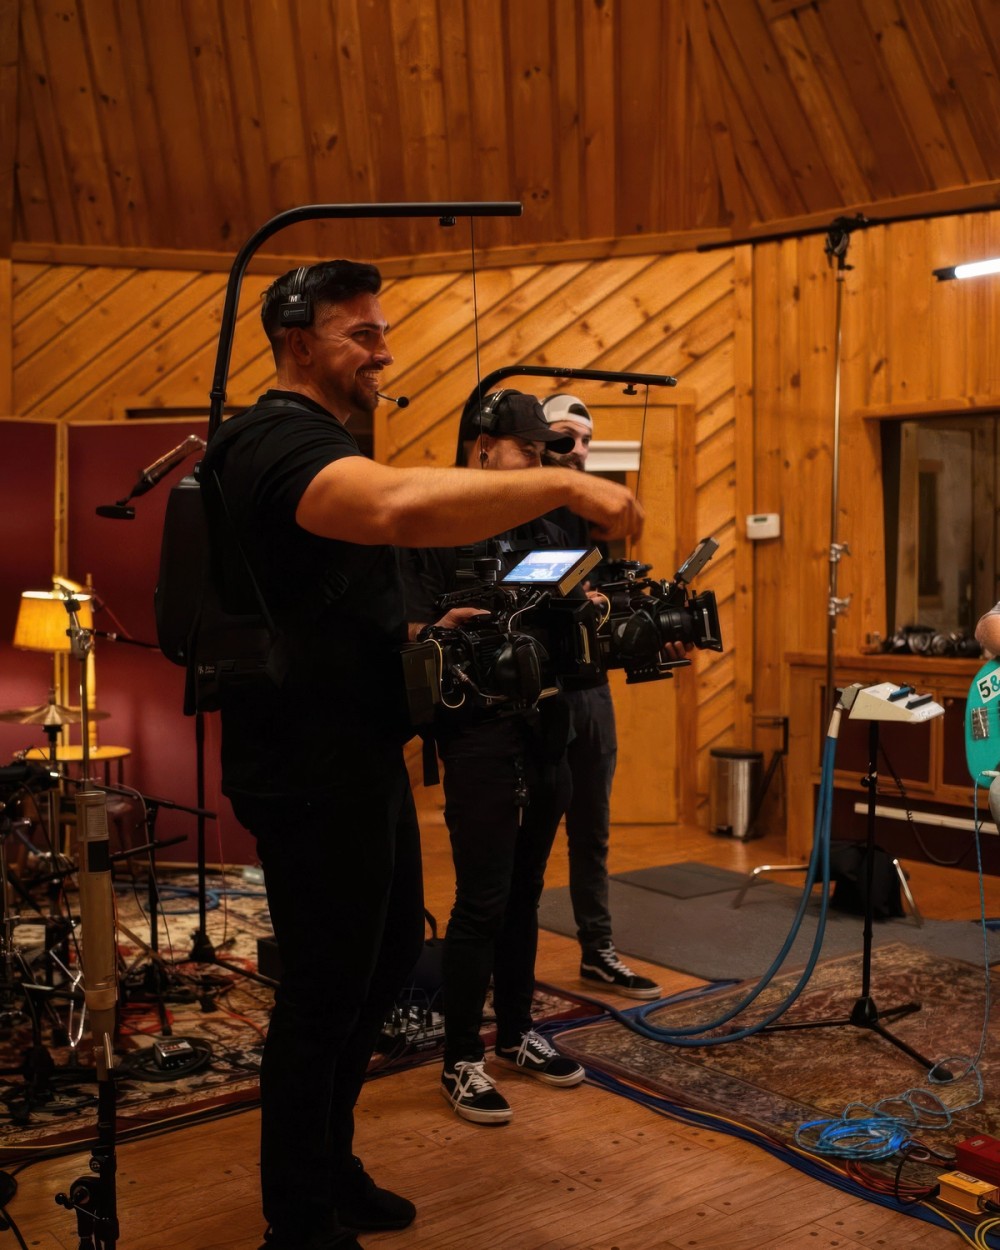
Tom Shaw shares a behind-the-scenes moment from the “I AM” music video for Rev Worship
What Goes Into a Kit
A big light to combat the sun
For shooters building their first light kit, Tom recommends starting with “a big light to combat the sun.” He explains: “If you don't have a big light, then you're limited to whatever the sun is doing that day. If you can't fight it, then you have to completely ignore it and shoot to this corner, which might not be the best option. And I always want the best frame, no matter what.”
“Get what you can afford,” Tom adds, “but make sure you can get a big light.” Tom recommends at least a 600-700 watt light for this first big light, like the Aputure STORM 700x.
Currently, the highest power light in Tom’s kit is the STORM 1000c, which is bright enough to overpower sunlight while running on a household circuit. Tom says, “The STORM 1000C arrived before the shoot I had with this fitness app. If I didn't have the 1000C, I would have been cooked that day, because the sun started coming in, but I had the 1000C maxed out with the Light Dome 150, and it was perfect.”
Small lights to create dynamism
While Tom advises, “You can never have too many lights,” he next recommends adding small lights to the kit. The Aputure STORM 80c 3-Light Kit is his current go-to in this category, since the STORM 80c is powerful and small enough to mount anywhere, and the kit includes several useful modifiers. “Smaller lights help me sprinkle light across the scene and get a dynamic shot. I feel like if you have an 80c 3-Light Kit and a 700X, you can do almost anything,” Shaw says.
Mini lights like the Aputure MC Pro and MT Pro also fill this role well, due to their small size and built-in batteries.
Modifiers
An overlooked key to starting a lighting kit is modifiers. For use with your big light, Shaw recommends a softbox, like a Quick Dome 90, and a spotlight for gaffer slashes and hair lights, like the Spotlight Mount II.
“You have to get a spotlight because that will give you that extra sauce to slash on the back wall,” Tom adds, “Use it as a hair light, add a gobo, throw some foliage back there, make it a little bit out of focus.”
For bounce modifiers, something as simple as foam board (or a white wall at the location) can work, and Shaw recommends DoPChoice and Lightbridge’s Snapbridge hybrid reflector as the upgrade option. This collapsible modifier combines hard and soft reflectors to create an organic, pleasing look on talent.
Don’t forget Sidus Link Pro
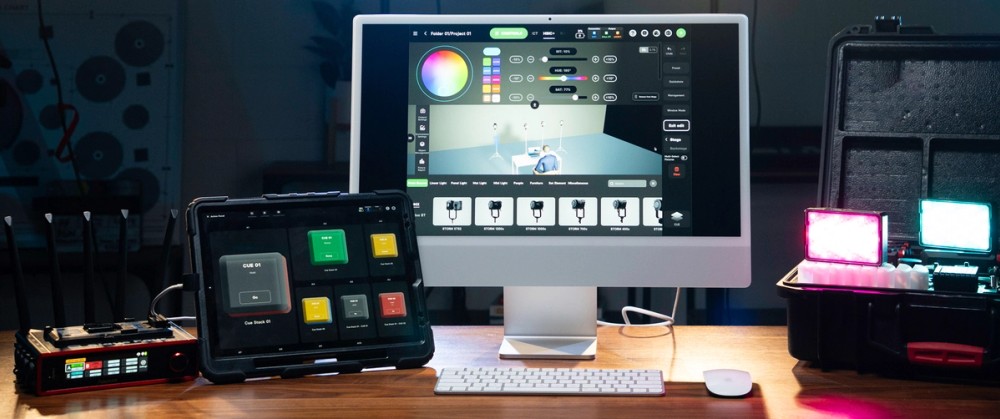
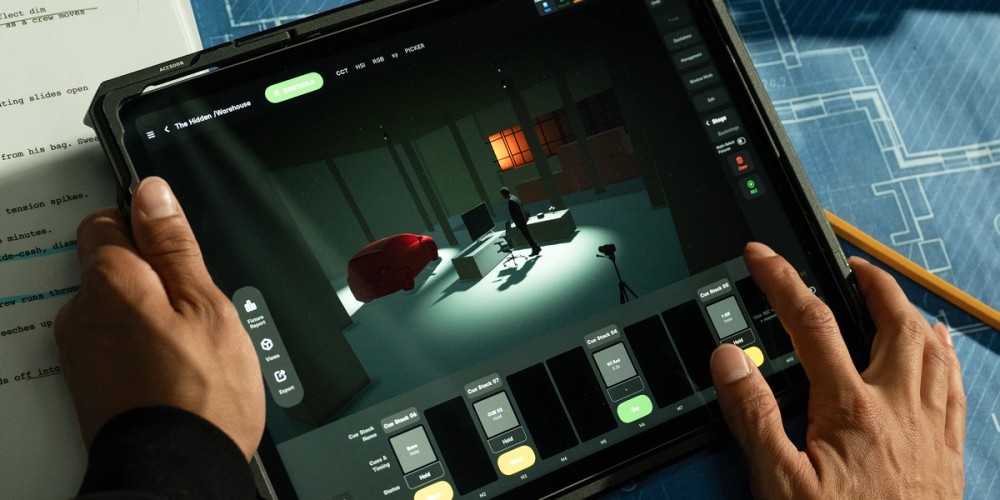
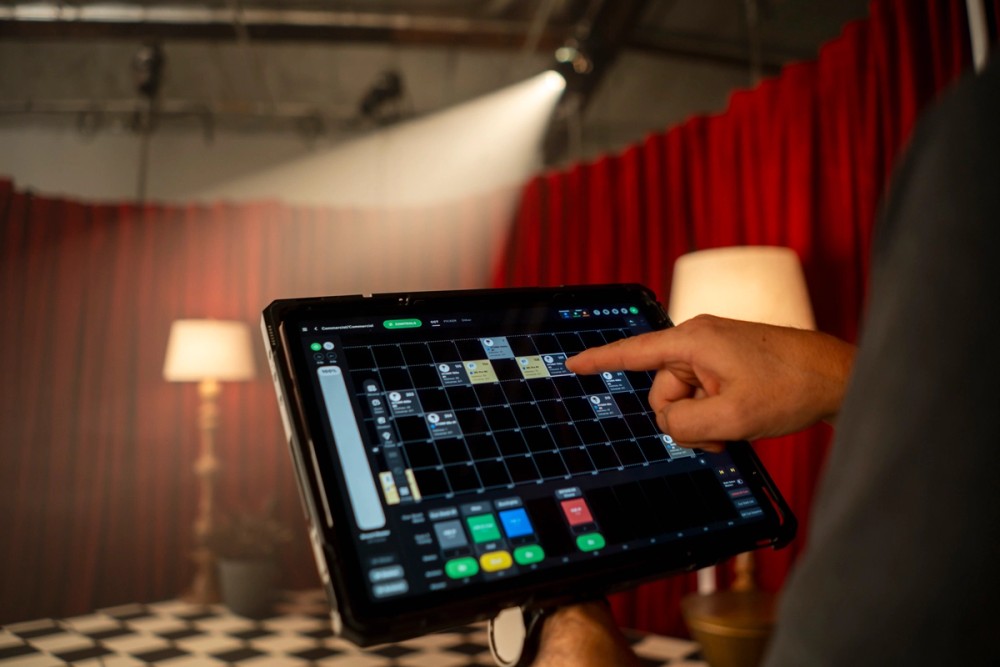
The final element of Tom’s kit is a wireless control app for quick lighting changes before rolling. He says, “If I didn't have Sidus Link Pro on the iPad, I would just tweak the light, run back to my camera. Tweak the light, run back to my camera. It helps me dial in my scene more than ever.”
Sidus Link also features Diagram Master, which is where Shaw builds the lighting diagrams he shares on social media. He points out that these diagrams have an important primary use: “If I ever have to shoot this scene again, like if this were a recurring client, now I can refer back to what I did.”
How To Prepare for Lighting a Space
Find the best frame
The first thing Shaw does in a space is find the best possible frame in the location. He says, “A lot of clients think they have the best option. They're like, ‘This is the best room.’ The first thing I say is, ‘What else do you have?’ Even if it's a good room, I want to explore every option that I have available to me. How does it feel? Is the space big? Is there room to move around? Where does it feel like light should be coming from? I'm open to what's the best frame, even if it's not necessarily the most convenient or easy to pull off.”
It’s important to consider light sources as part of finding the frame. Are there windows? Are you going to be fighting with sunlight now or later in the day? What are the natural-feeling light sources in the space? Shaw also says this is the time to look for places in the frame where you can add interesting visual information. “What needs detail in the frame, what gives layers?”
Find your light
With the frame set, your attention turns to existing lighting. “When I find my light,” Shaw says, “I look at what light in this space is hindering me and what's helping me.”
Hindrances include things like practical lamps and flickering overhead lights that need to be turned off or controlled. “Sometimes it's obvious. You're like, ‘That needs to go.’ When it's not so obvious, I try to be super open-minded. I want to play with the space and explore the best option.”
Helpers often become apparent when exploring. Shaw says, “Sometimes we're in a nice space where you flip the switch, and now all the shelves have really nice display lighting, and now I don't have to use tubes to light the space. I'm going to use that to my advantage.”
Expose for the scene
Before setting up any lights, Shaw will expose for the environment as it is, adjusting ISO, aperture, and the camera’s internal neutral density filter as needed. “I like to have someone sit in, whether that's the talent or someone on the crew, or even the client. I want to see how the space is just naturally hitting you with light.” Setting up a key light before this step was a mistake he used to make. “I never explored how I wanted to expose the background; I just exposed for the key light, where nowadays I will expose for the space and then add my key light, which gives me way more control.”
Lighting Examples
With the frame set, the space explored and experimented with, and the camera exposure set, it’s time to build out the lighting for the scene, starting with the key light. In the following examples, Tom talks with us about the challenges he found in each space and how he addressed them with his framing and light placement.
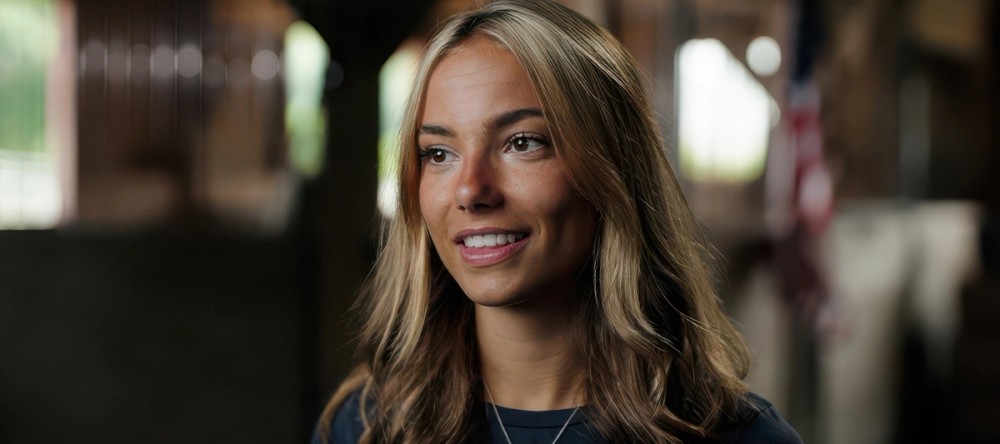
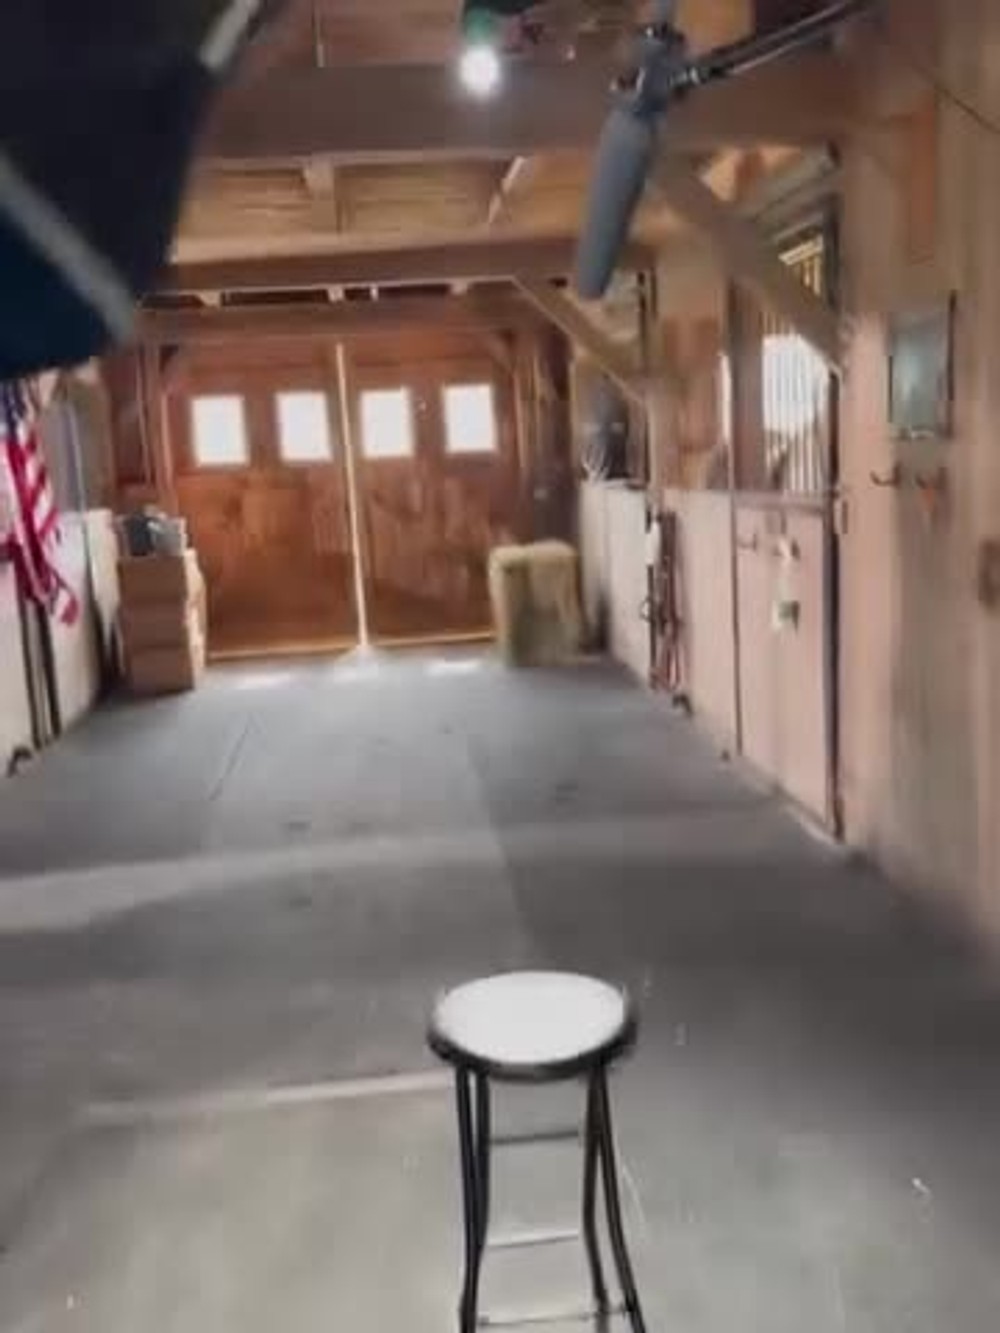
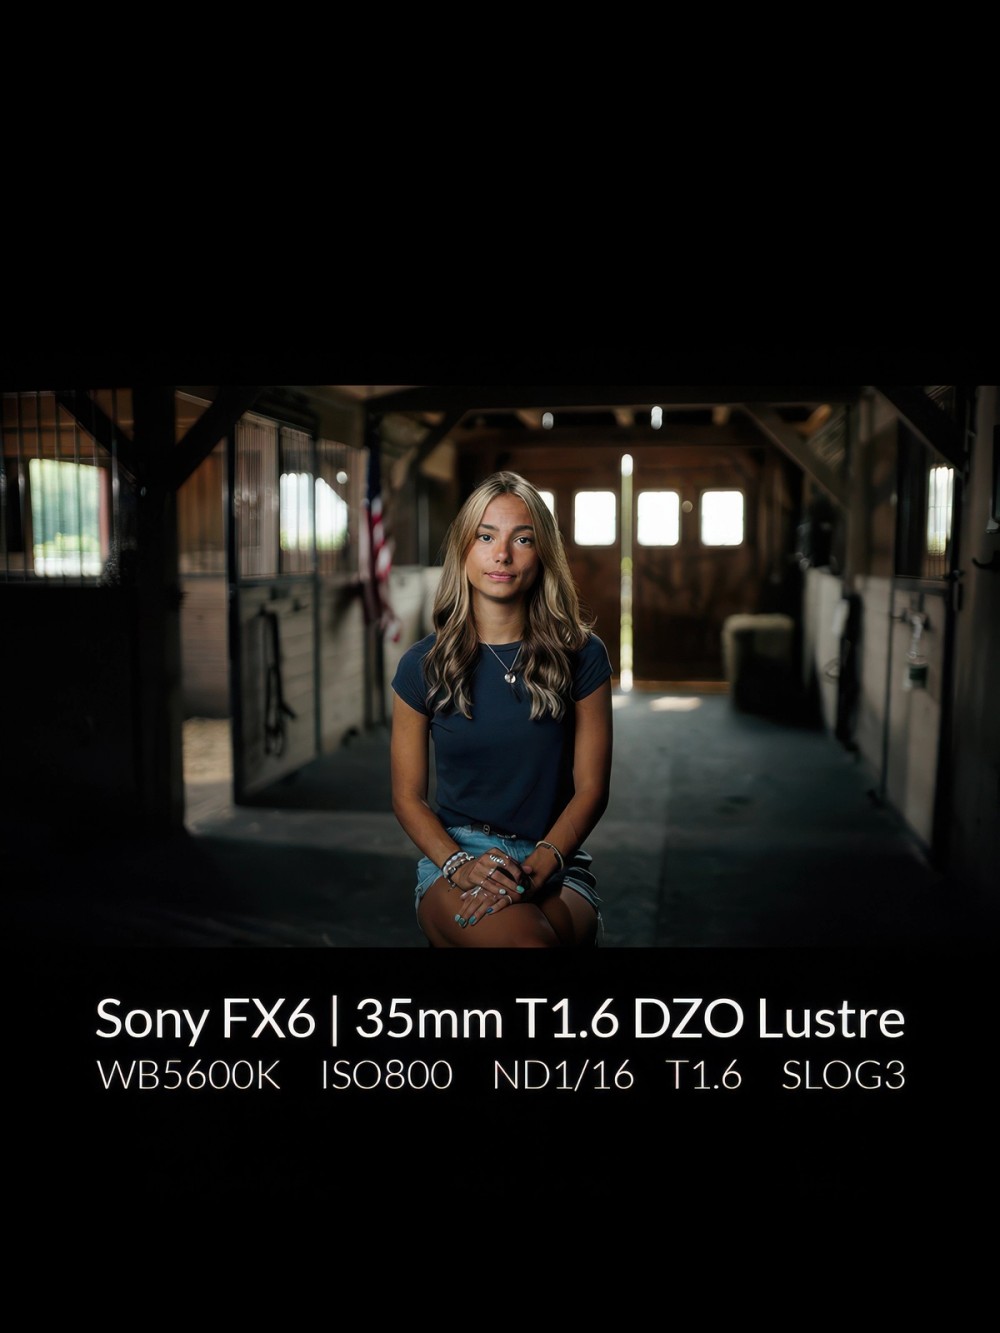
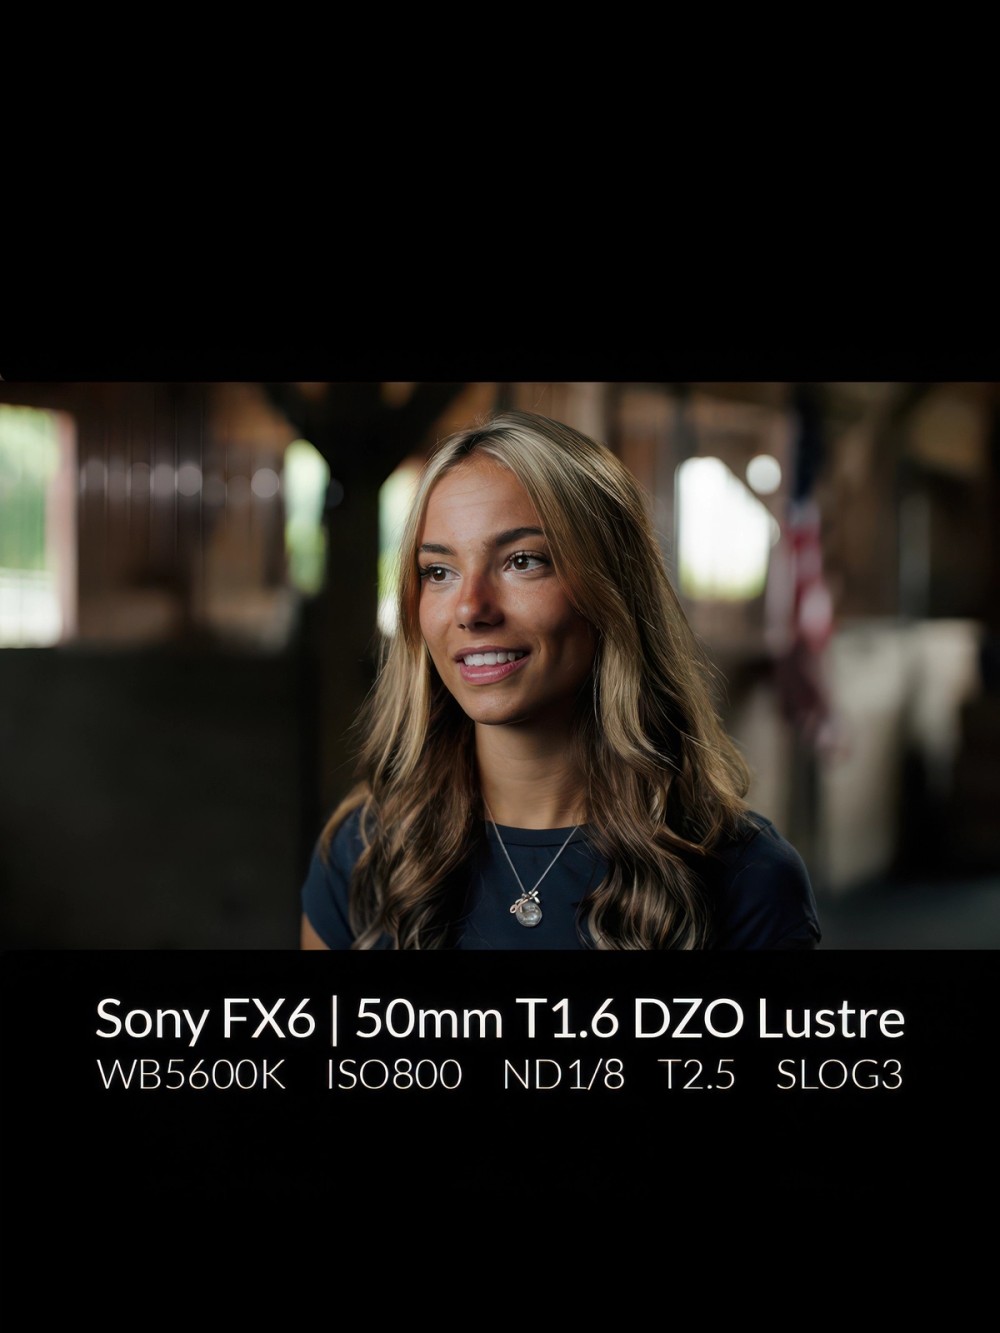
Example 1: The barn shot
In this shoot for Vet Life, Tom arrived at the location and noticed two major details: “There was extremely bright daylight coming in through the windows, and it’s a barn; boring, brown, and dark.”
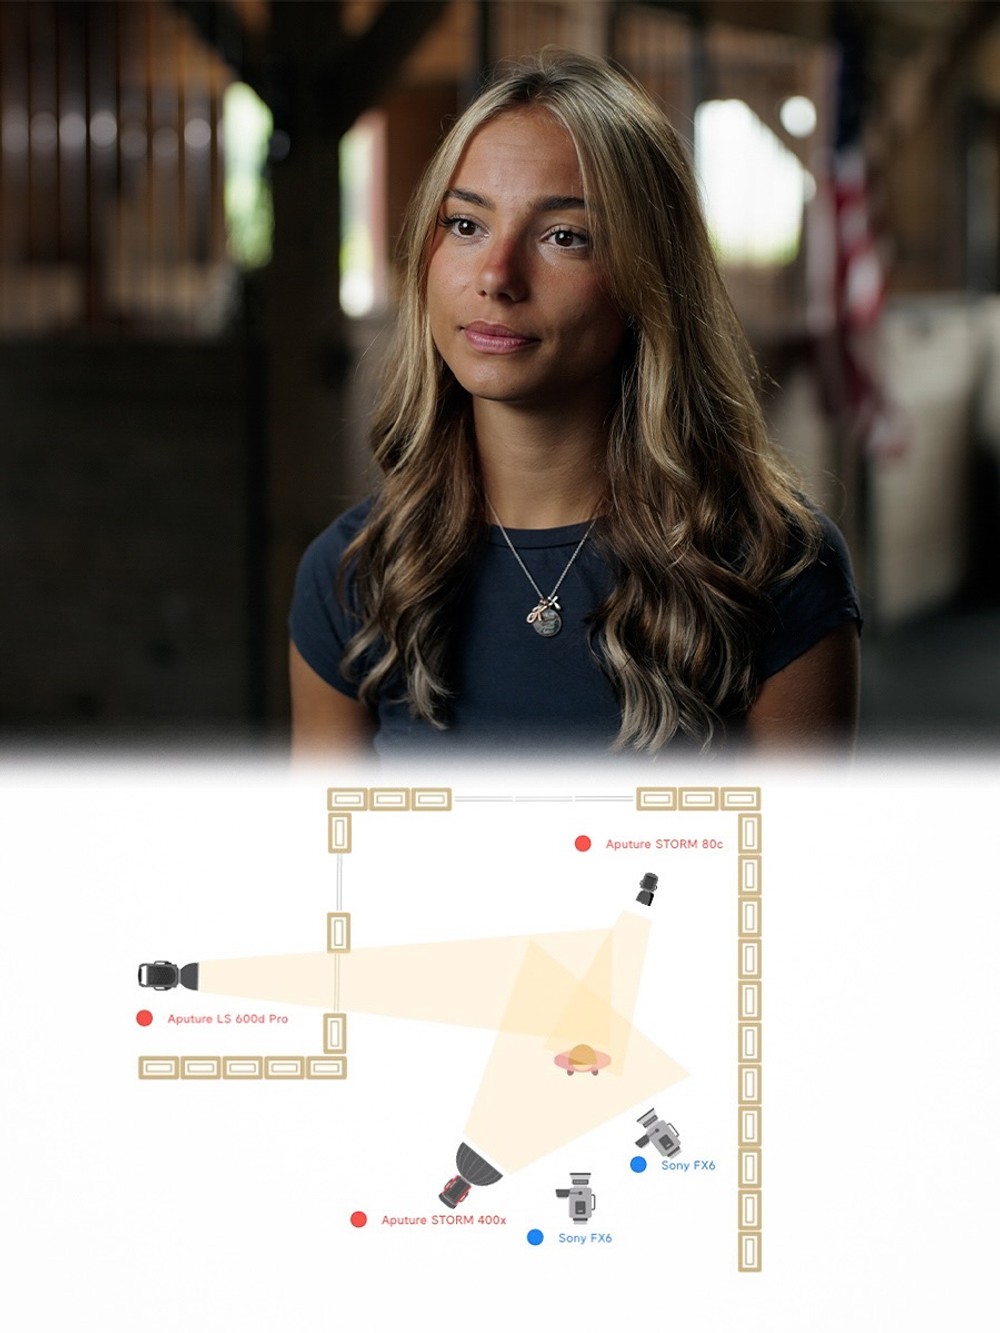
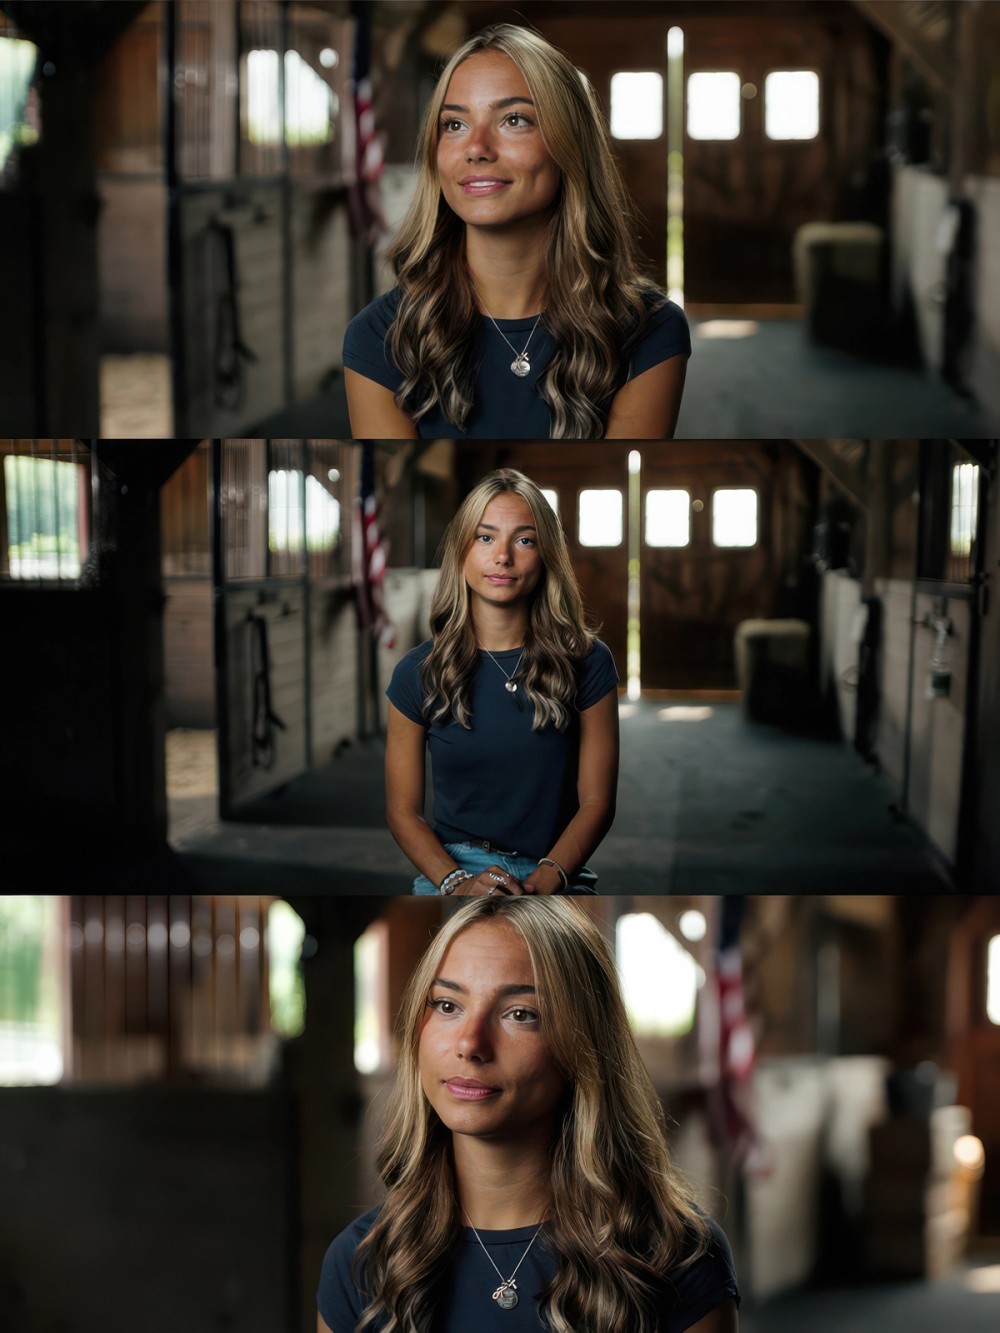
To match the exposure for the bright light outside, Tom used a STORM 400x and Quick Dome 90 for his key, and clamped a STORM 80c to the rafters to provide some hair light. Tom adds, “If you look at her left shoulder, notice that subtle hard edge. There are these little things that make it three-dimensional. I always want my subject to pop off the back wall.”
Then, two key elements helped solve the barn problem: wardrobe and a motivated slash of light. Tom says, “I asked her, ‘Can you wear blue that day?’ because it's a very brown barn. The color will pop at you.” Then, he placed a Light Storm 600c Pro II with a Spotlight Mount so light fell across the ground and lit up the wall camera right, as if daylight was coming from a window out of sight camera left.
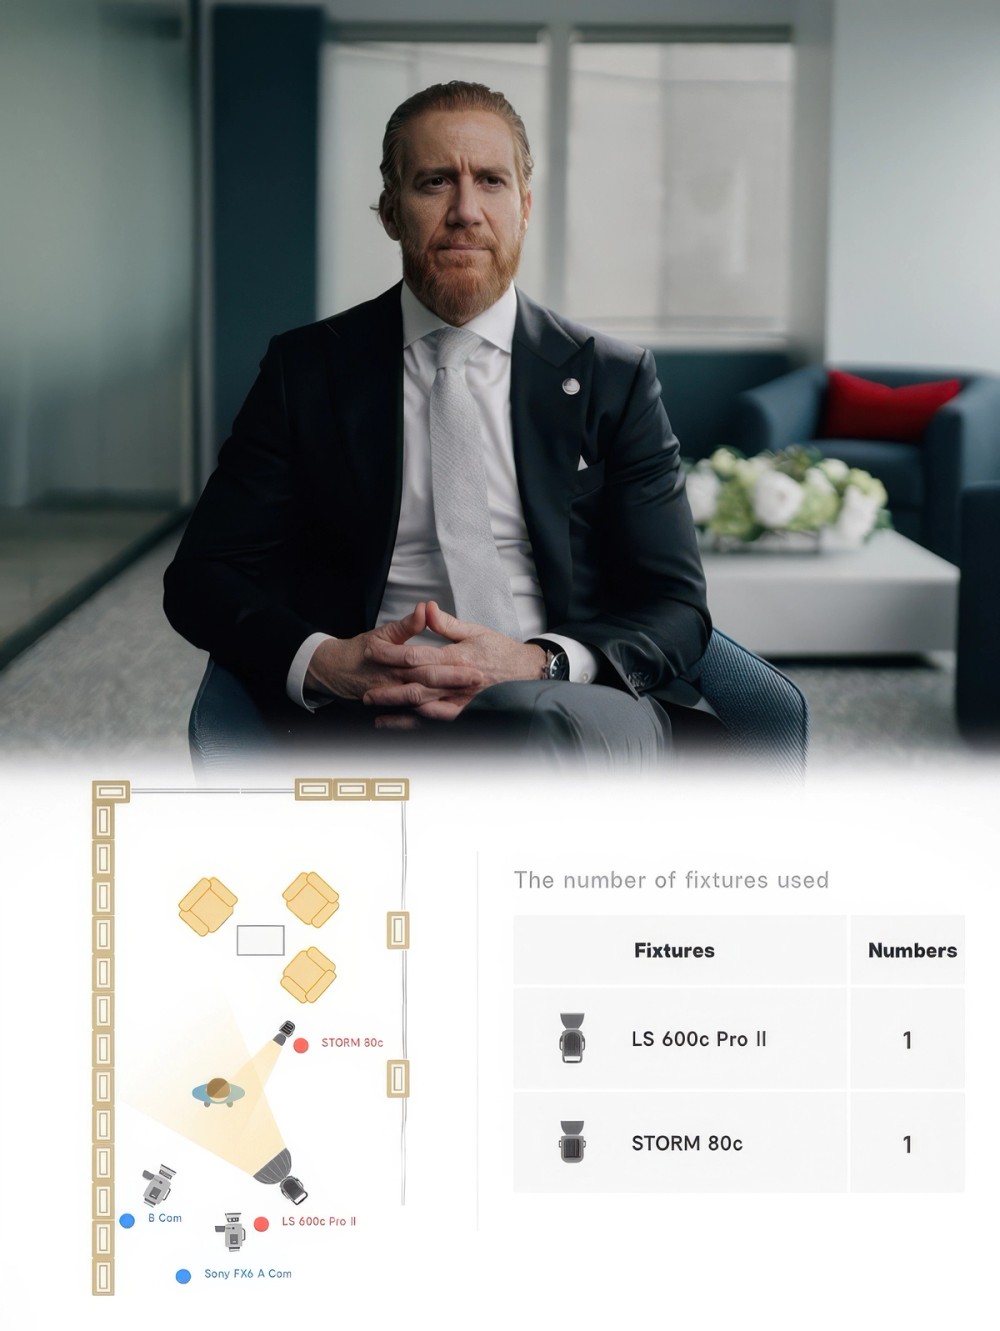
Example 2: High rise
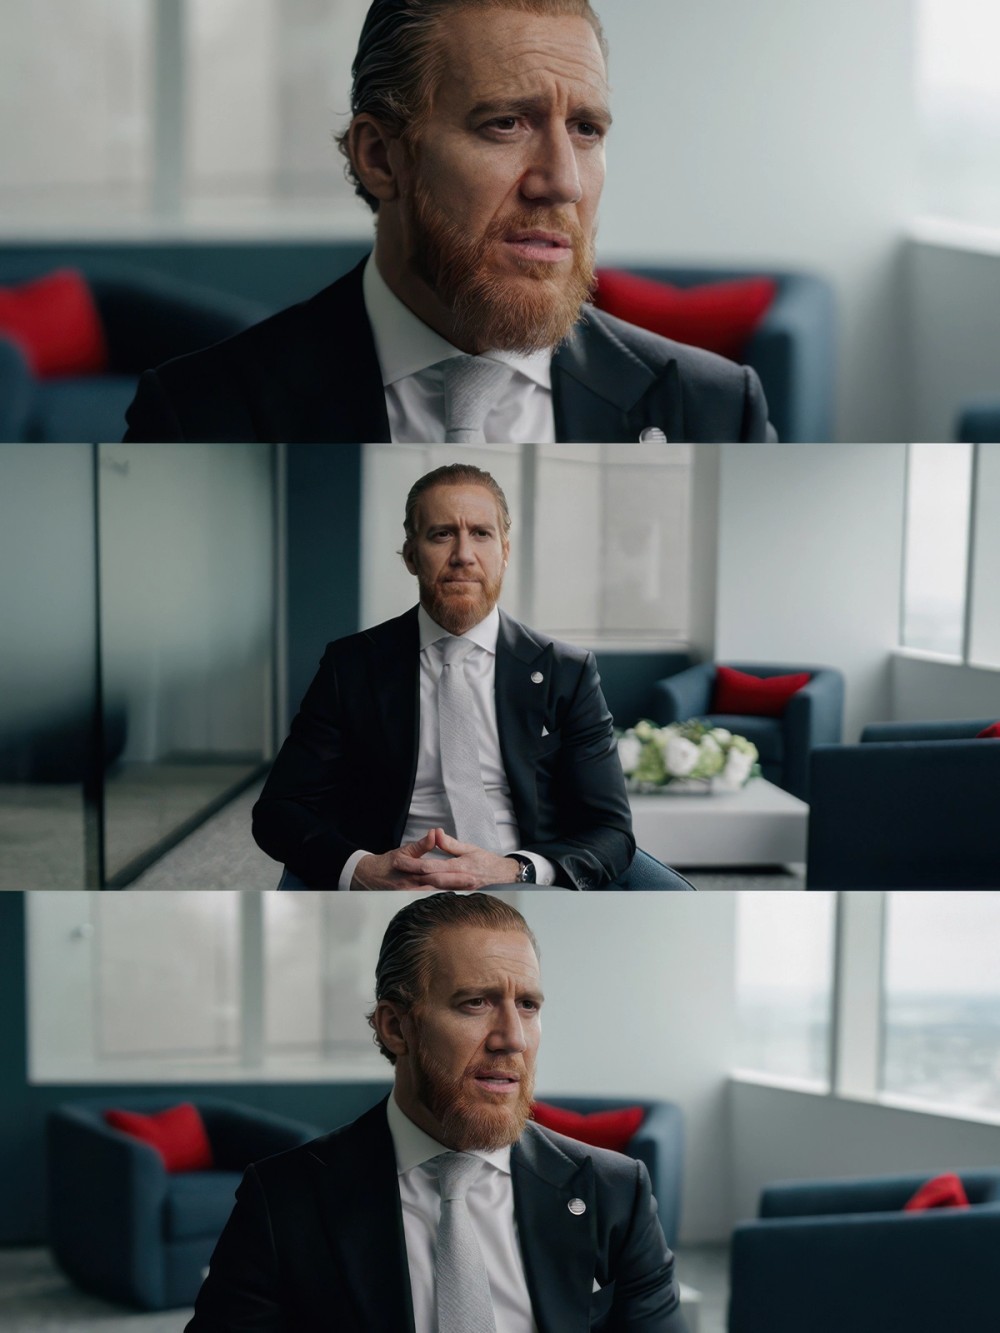
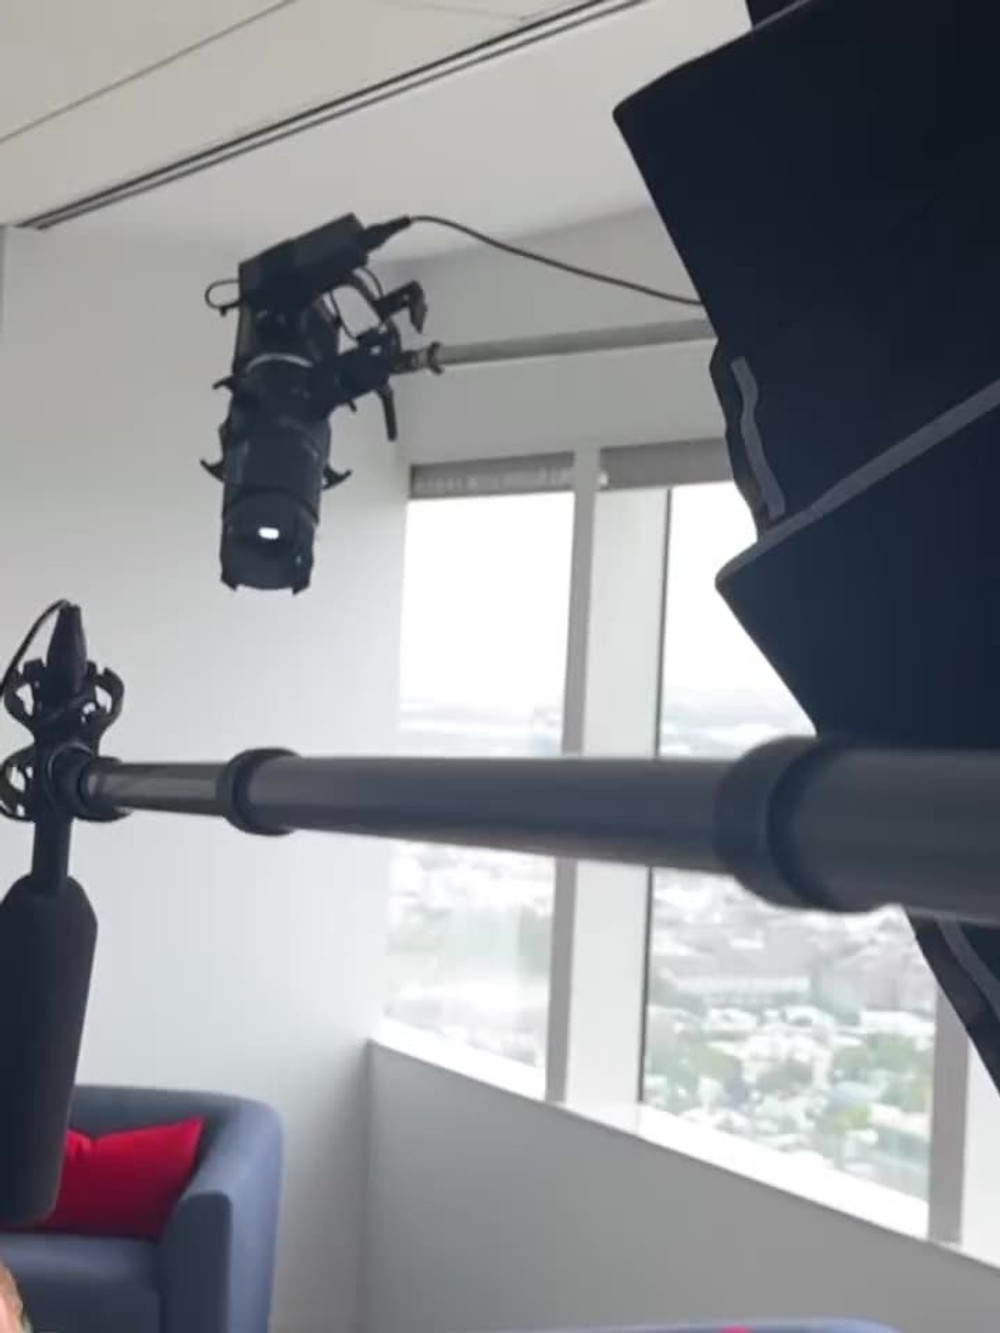
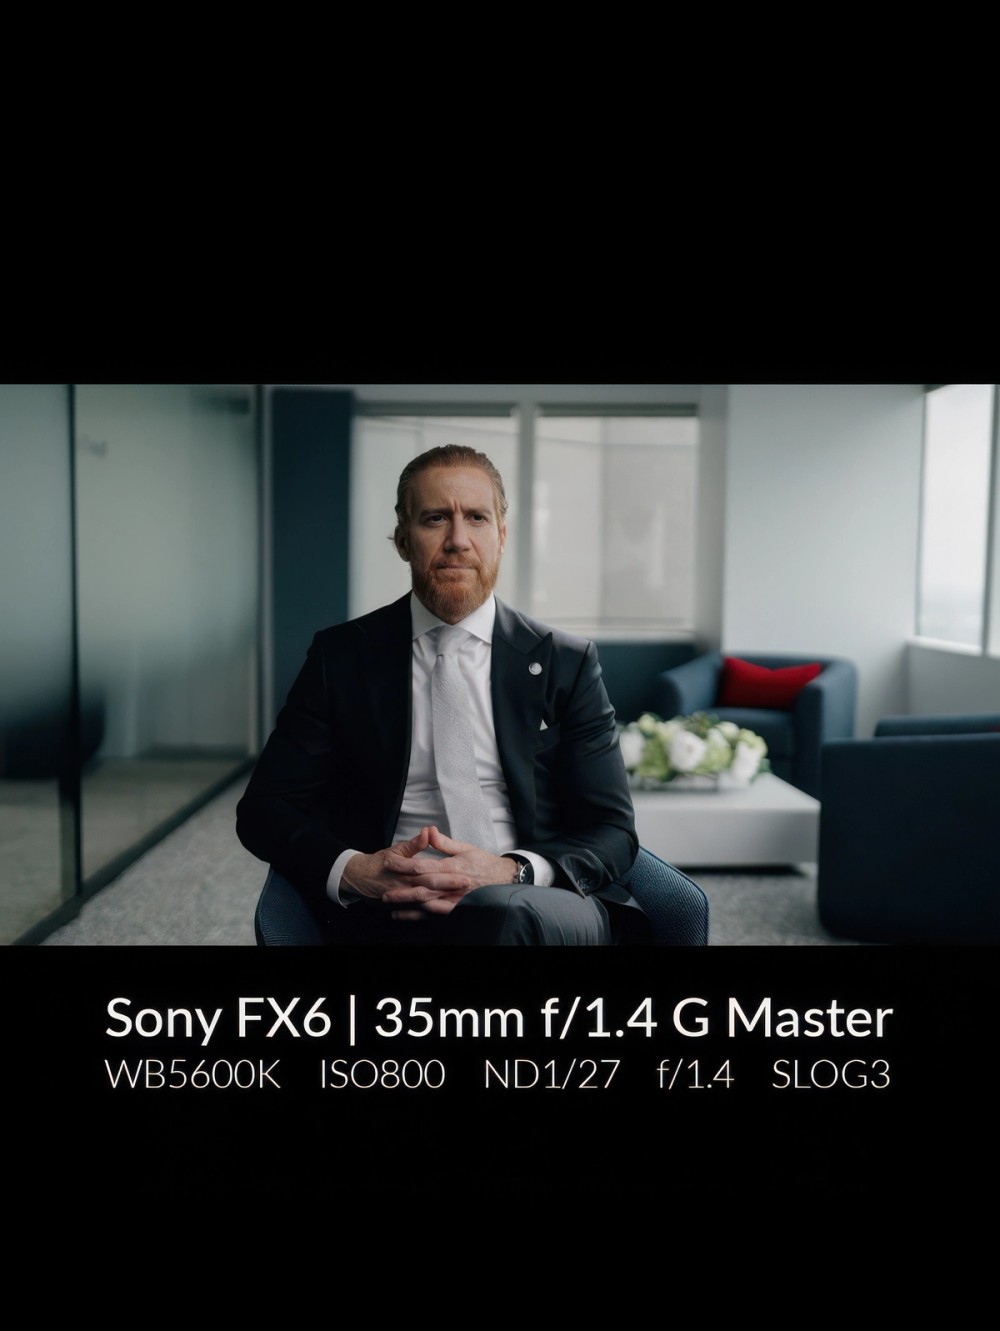
Sometimes a location so completely limits you that most of your toolset is useless. Such was the case in this high-rise shoot with intense sunlight coming in from floor-to-ceiling windows. The solution took just two lights.
Ordinarily, Tom likes to expose for the sky if possible, but here it wasn’t necessary, due to the overcast sky. “I wasn't getting any information through those windows if I were to expose from the sky, no matter what. So, I played into it. Maybe that's how it's supposed to look. I leaned into it and used it as a strength.”
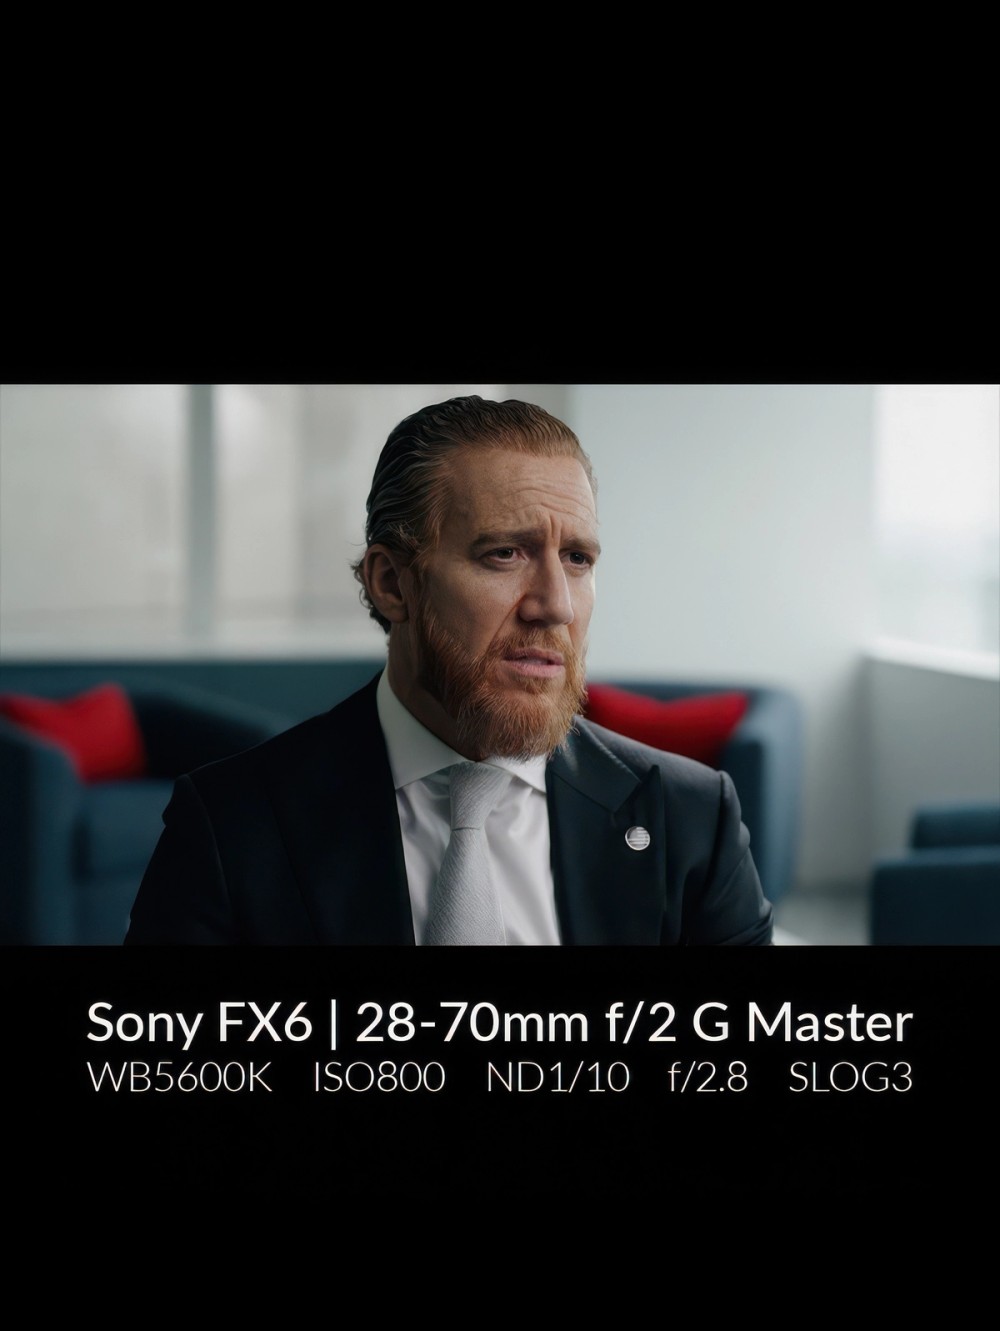
Here, the brightness meant that the key had to be the most powerful light Tom had that day, a Light Storm 600c Pro II. The light’s output was enough to match the intense daylight in the room.
A shoulder and hair light provided some motivated separation. “That was me shaping a STORM 80c with a Spotlight Mini, so it didn't hit his face as much, but it still gave me that hard light as if it was coming through the window.” Here again, the spotlight added intensity and was only just bright enough when placed directly out of frame.
Example 3: The 80c only setup
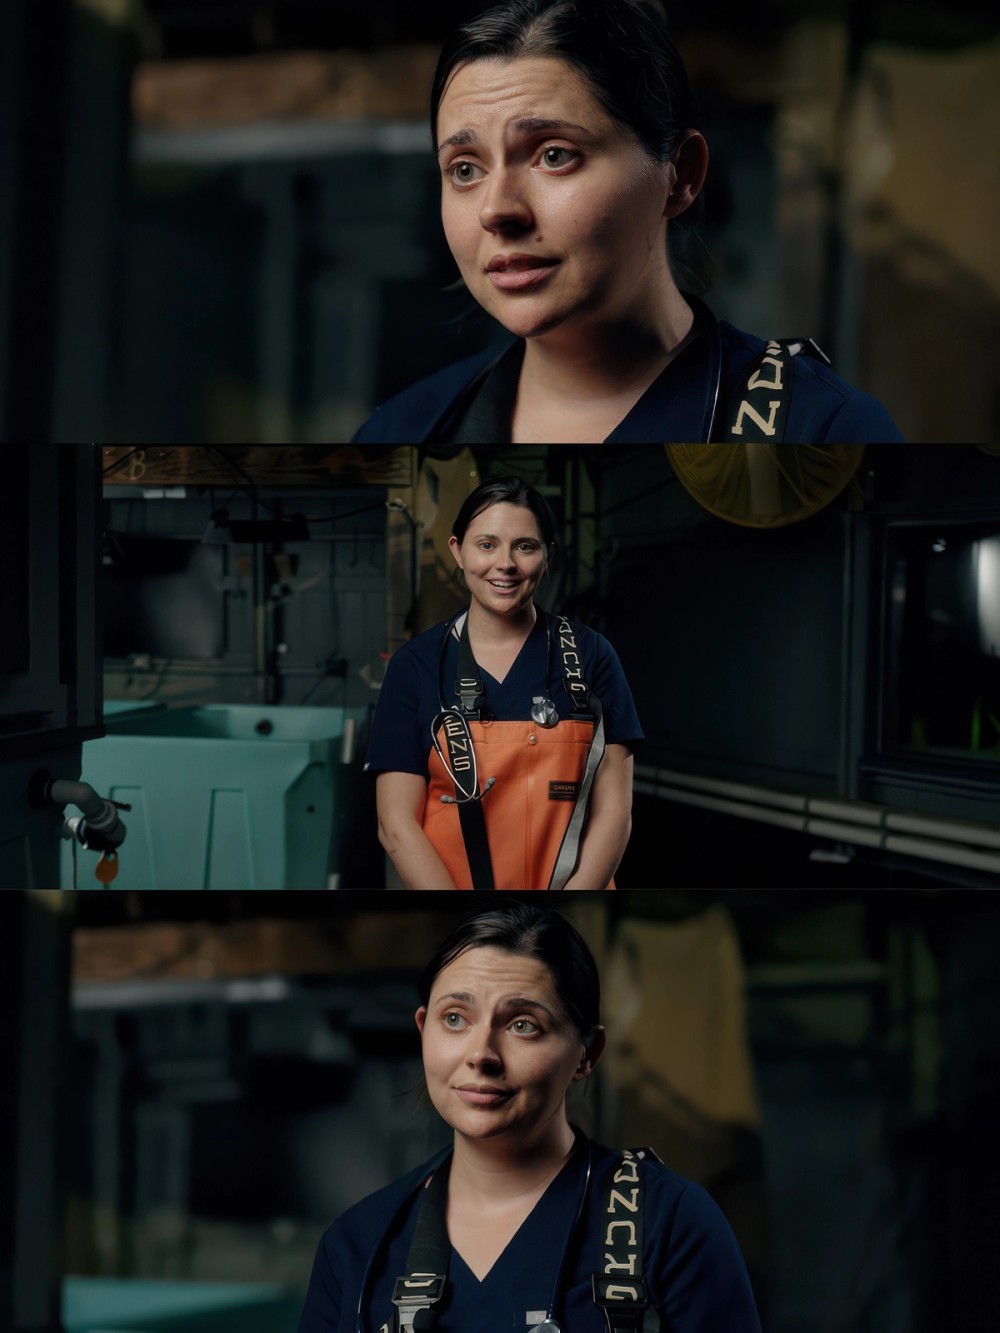
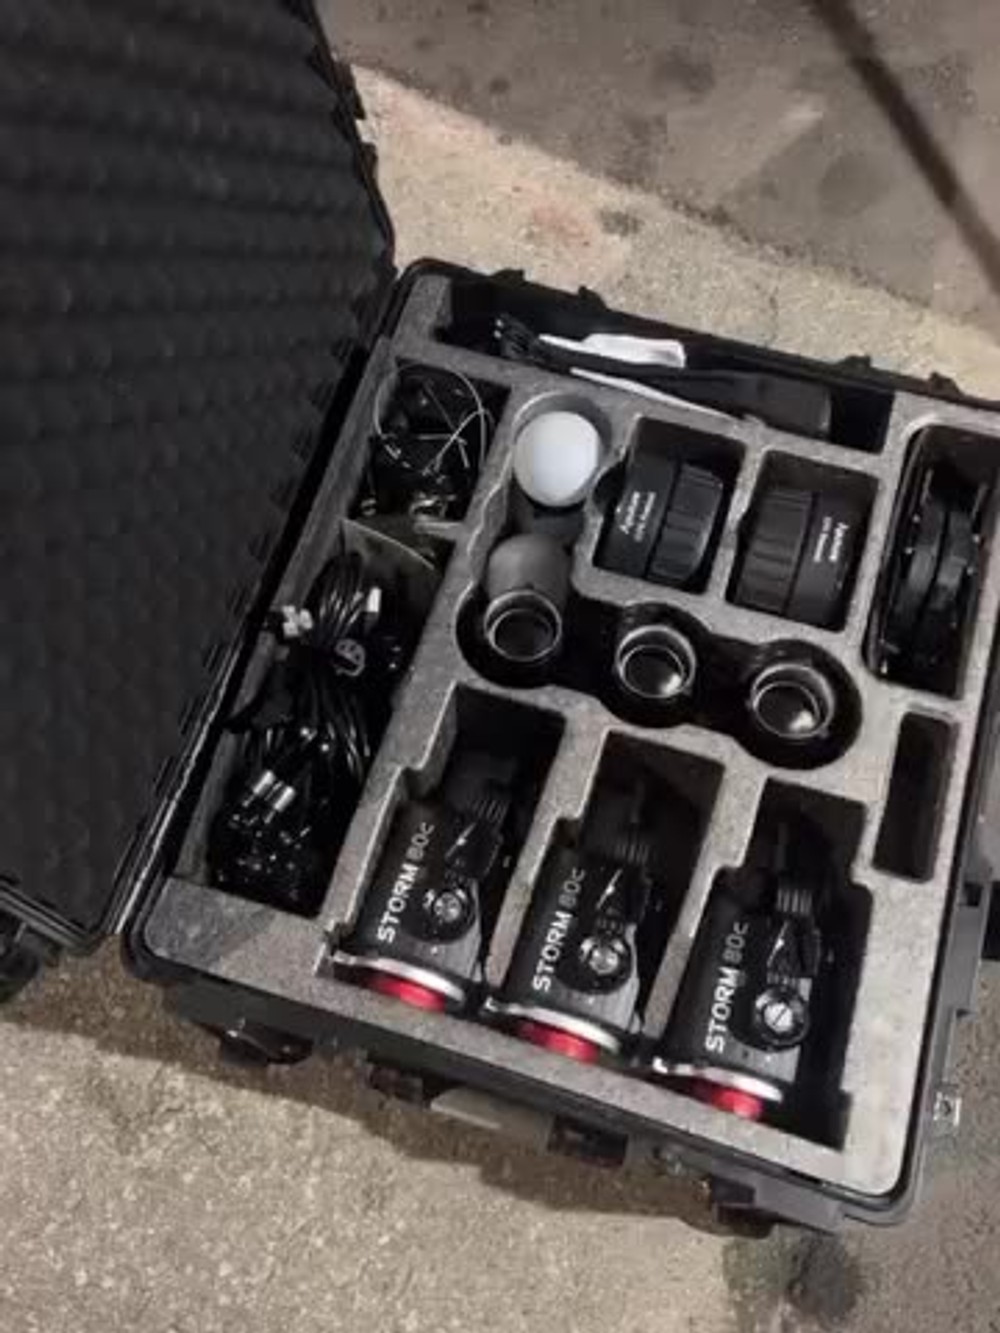
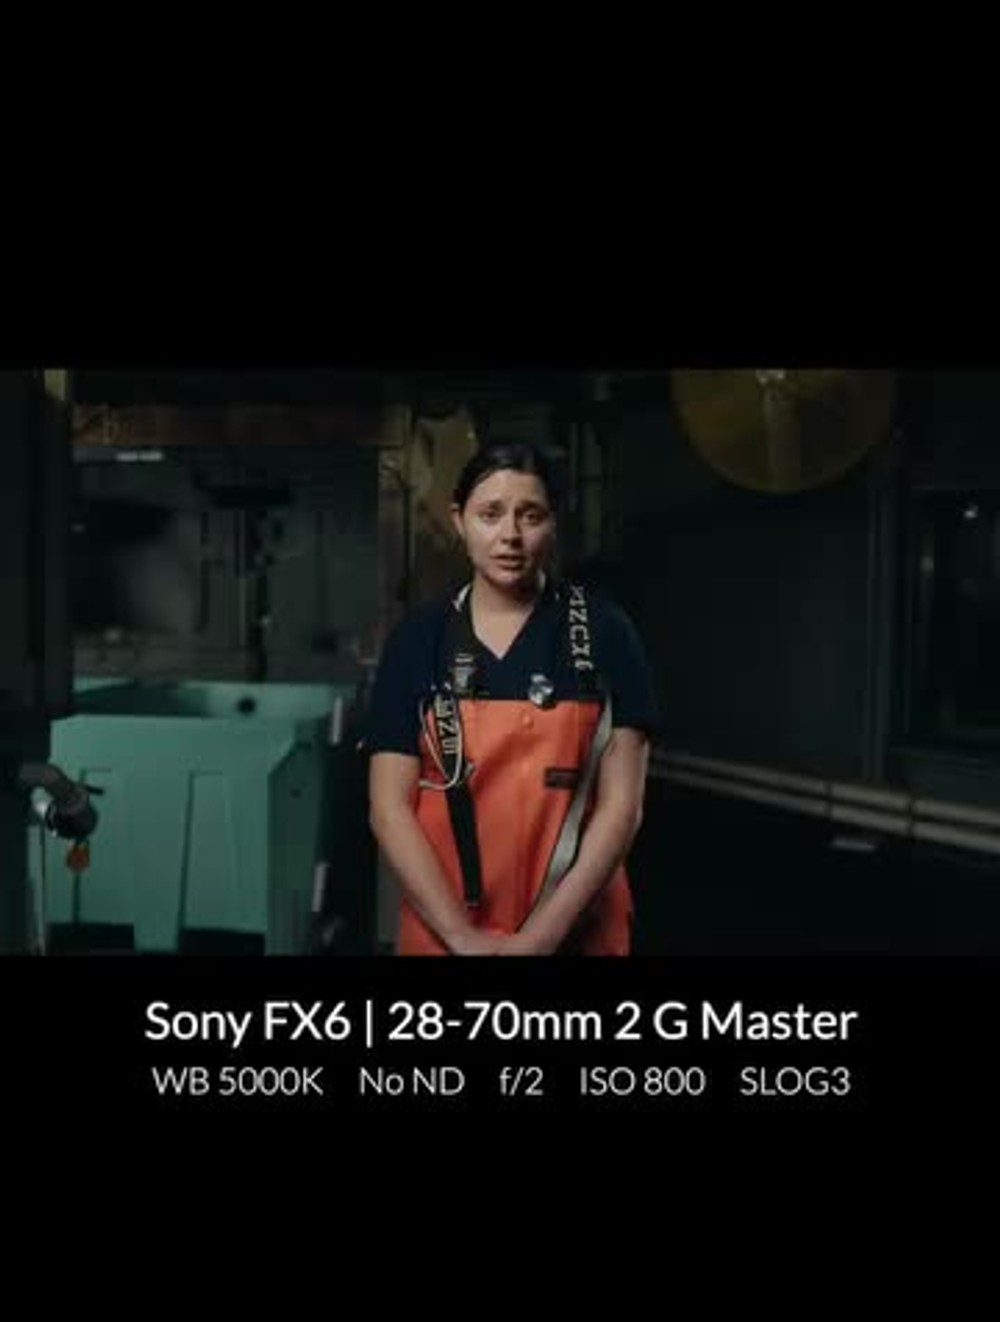
In a final example, Tom talked us through a shoot he completed for Mystic Aquarium with only the STORM 80c 3-Light Kit. Tom says, “I was like, ‘It's going to be outside at night. It's a dark space back there. I wonder if I can pull off a full interview setup with only STORM 80cs. And I was able to do it because they're so small and powerful.”
For the key light, Tom turned the STORM 80c into a large soft source by using a full-size Light Dome III with the Bowens Mount Adapter. He also used AC power for the key light, so it could be left at high output without any concerns about battery life. To light up the already interesting space and separate the talent, two more STORM 80cs were placed in the location. “I'm able to just clamp them and suction cup them to different spaces,” he says. “The hair light and the back light that's off to the side, that's just clamped to a fence, and then I throw a V-mount battery on it.”
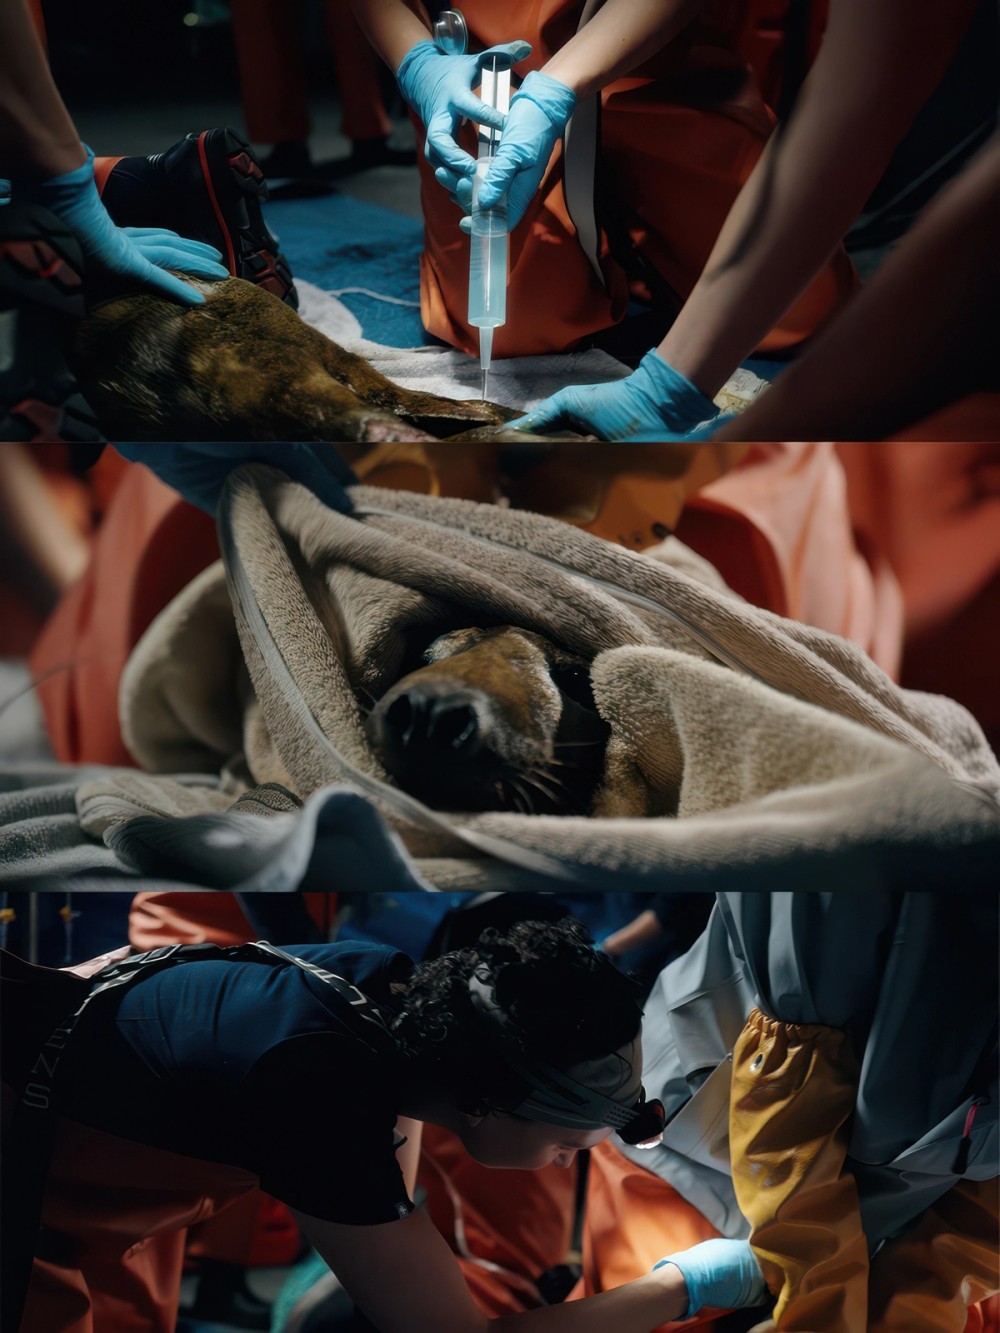
Like many client shoots, this project required B-roll. The setup changes were made easier due to how portable the lights are.

In Conclusion: Take Control of the Space
Tom finished the conversation with one final lesson: “The big thing I picked up on this year was taking ownership of the space. I'm not afraid to tell a client we need to move this couch out or take this art off the wall.”
“That might be an uncomfortable conversation, but if you walk in there with the right confidence, the client knows they hired the right guy. I'm going into your space, and I'm going to find the right frame. No matter how inconvenient that is, I'm going to look at every option in the building. I want max control with the lighting, with the frame, the location, even down to set decorating their space. I don't care how inconvenient it is or how hard it is. Every shoot is a puzzle. And I'm going to find that missing piece.”